
“Excuse Me, Can You Build the Panel Molding Around the Art, Please?”
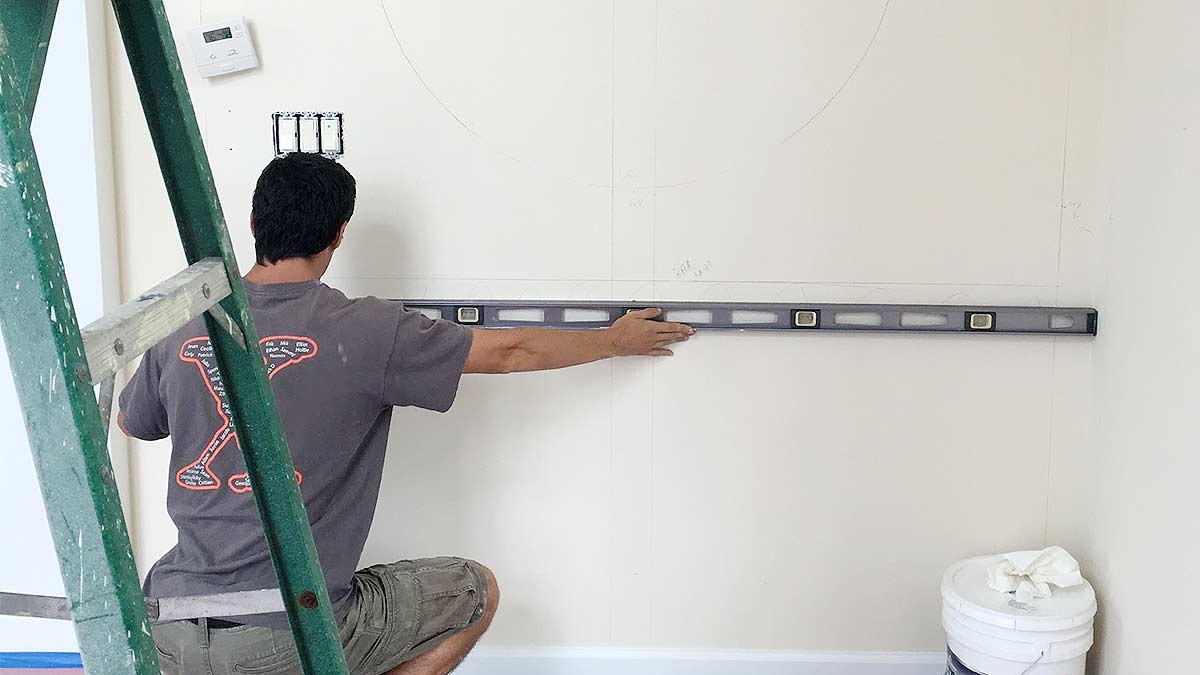
Designers get inspired by something and a whole room idea pops out. Here, A round mirror is going above a bar cart. We were given the dimensions of both before laying out he panel molding for this Great Falls Great Room. Glad Coleman took that geometry class in college.
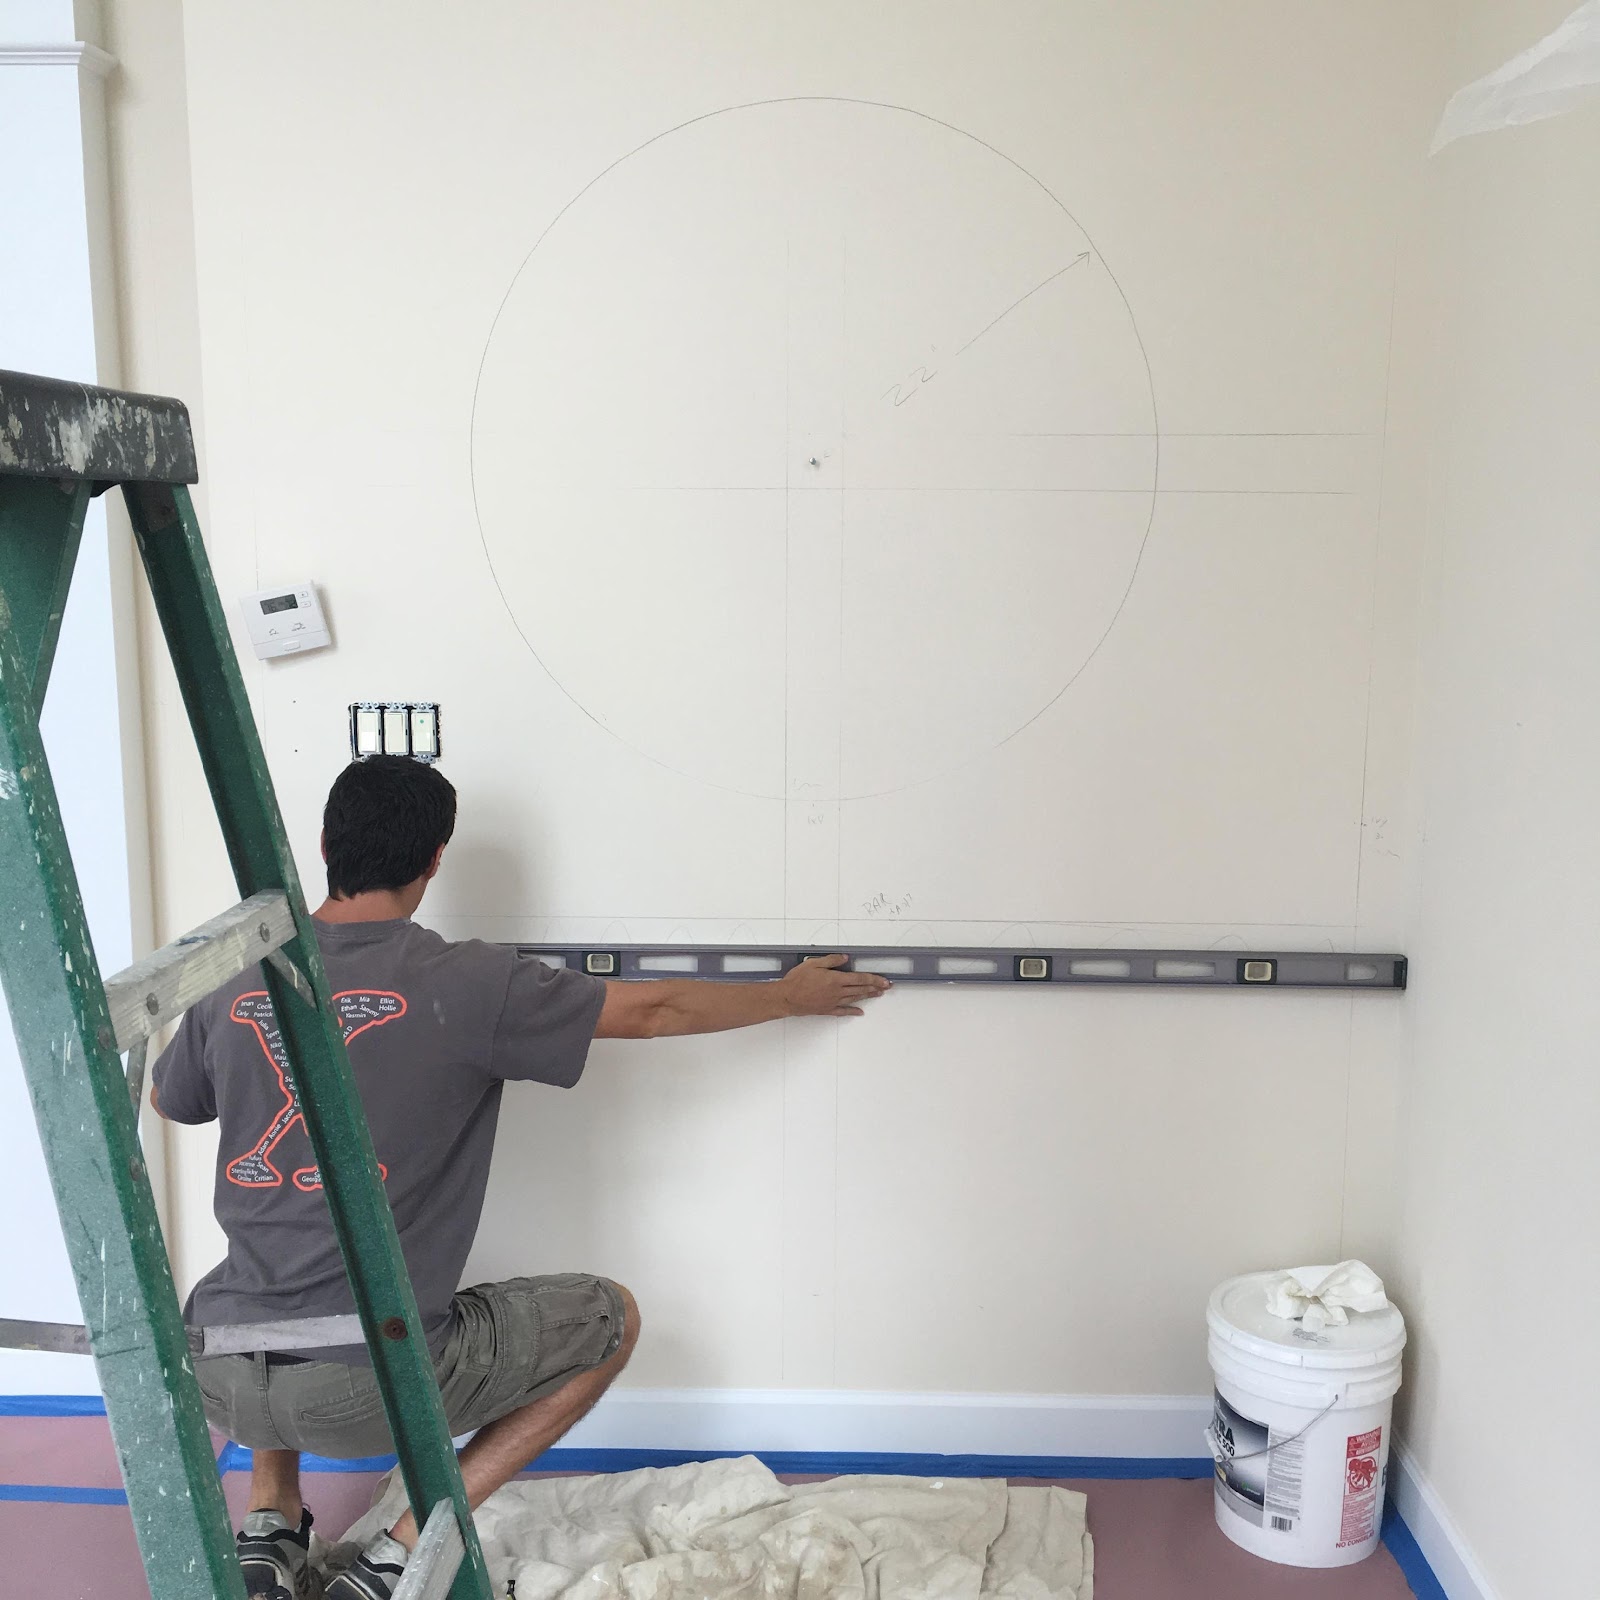
With the mirror and the bar cart laid out on the wall, the rest of the 25’ by 25’ by 18’ high great room came together easily.
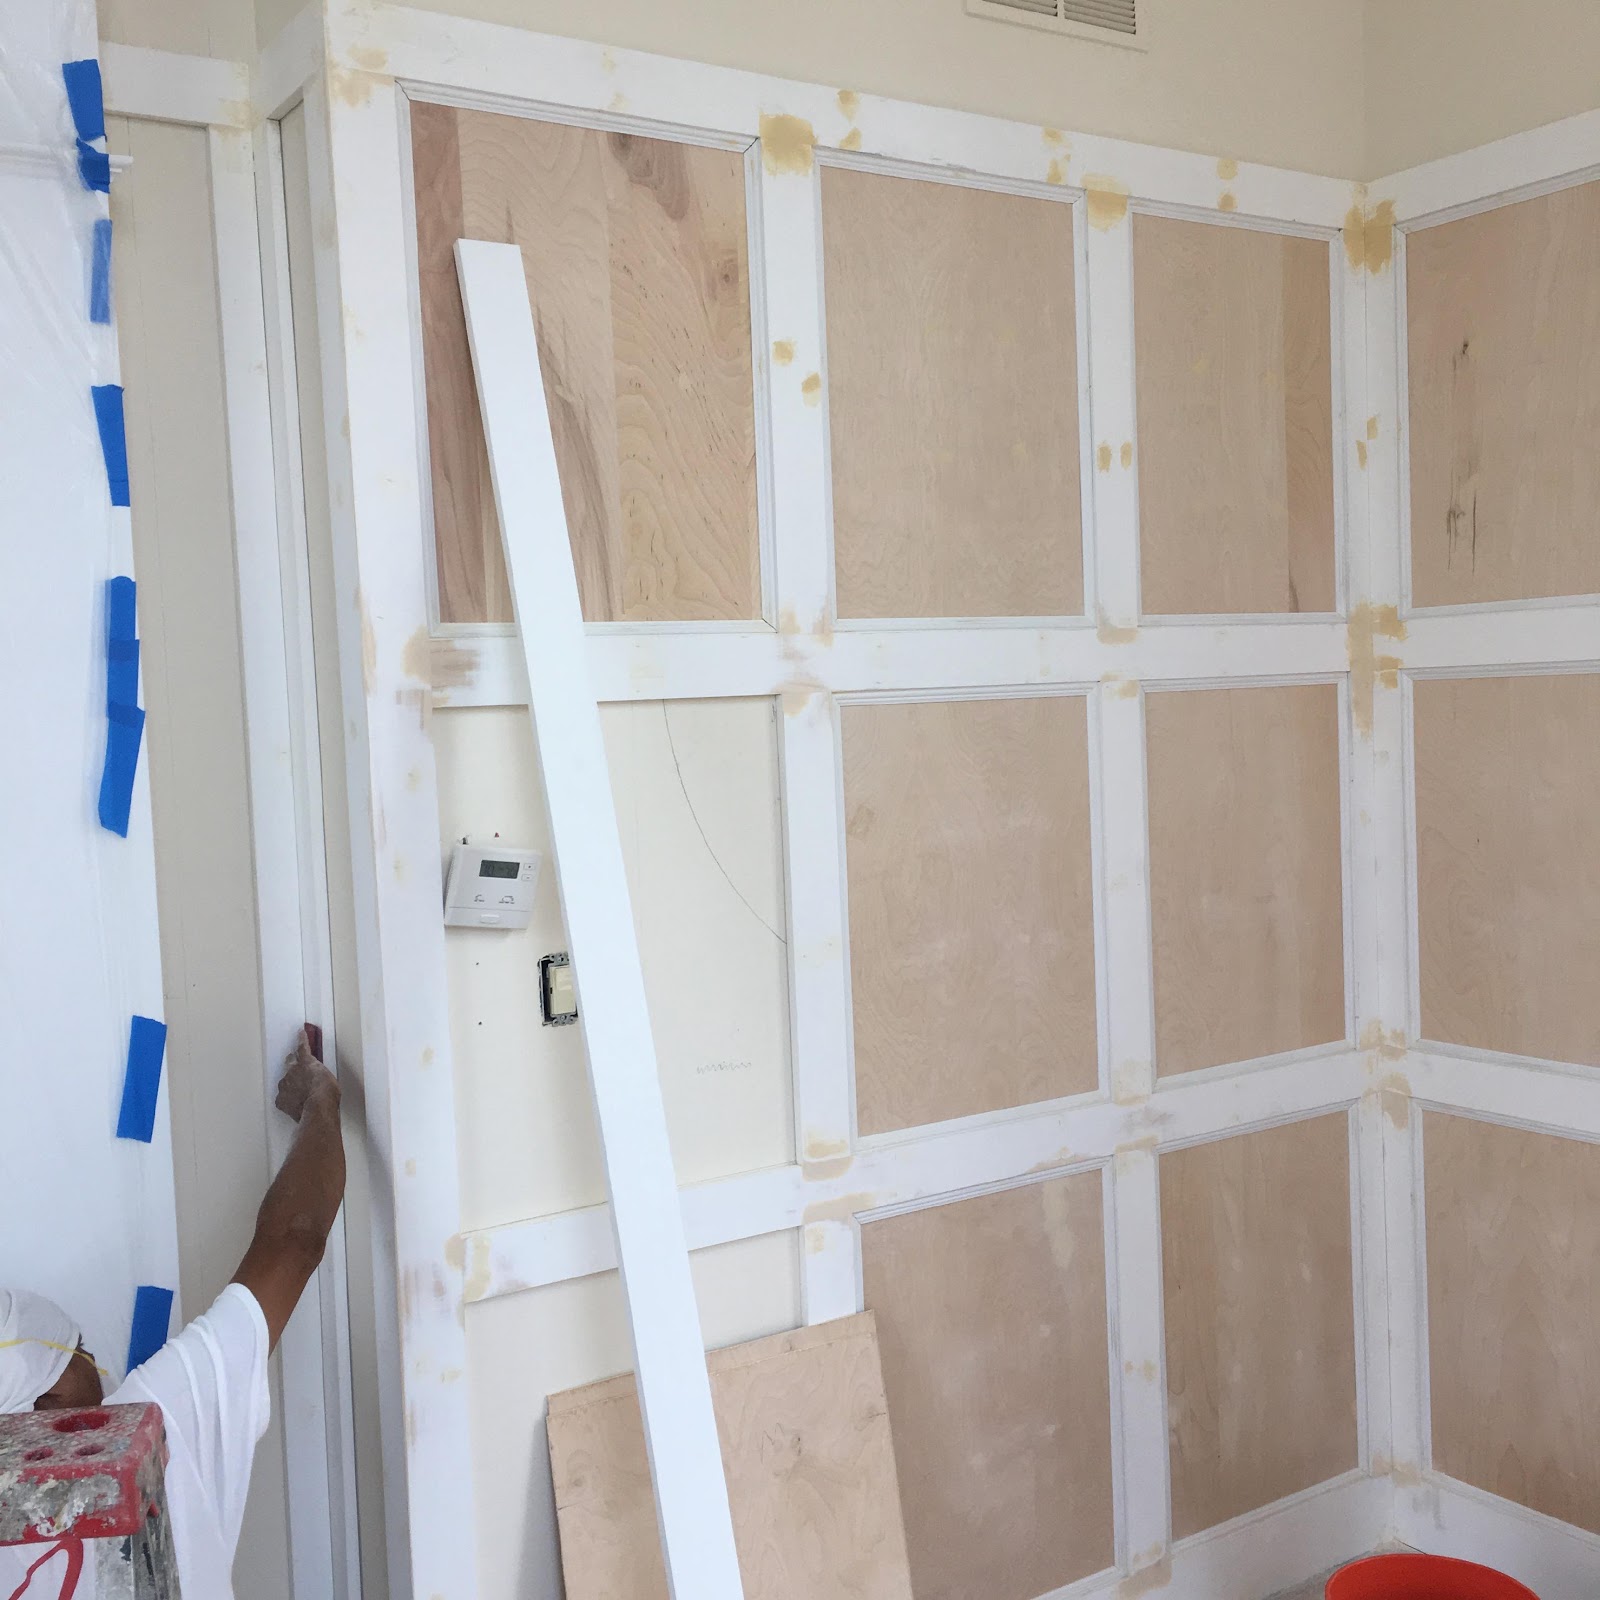
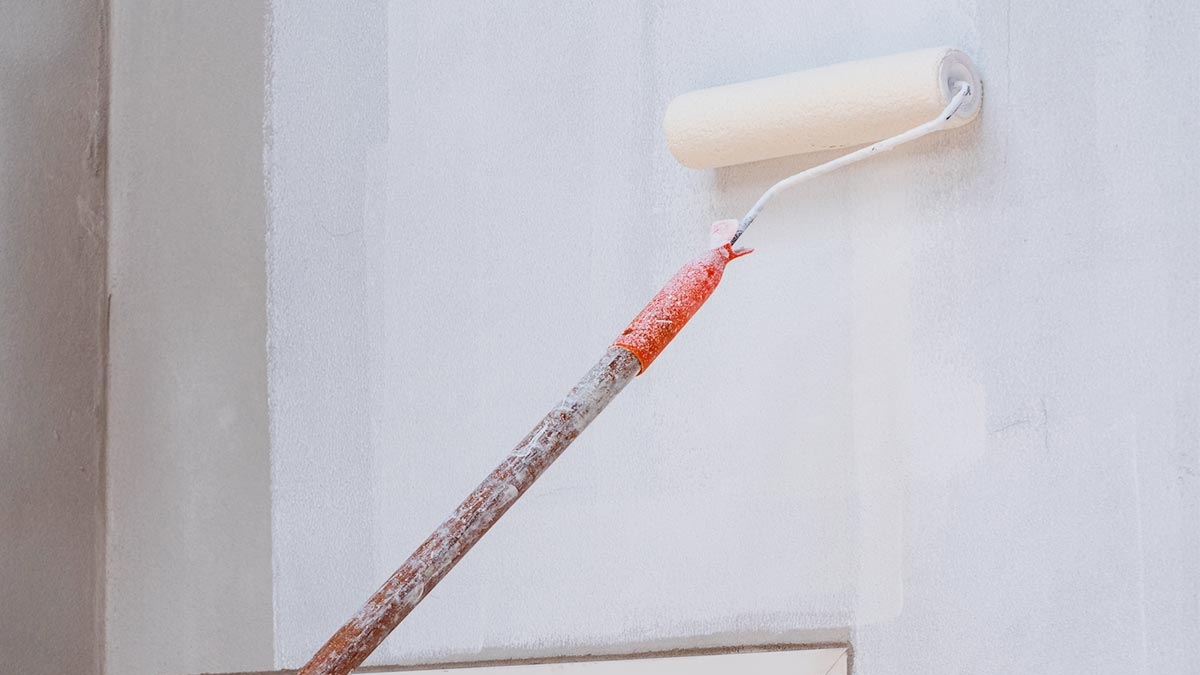
You can still see the layout lines the designer and homeowner signed off on before we started building the panel molding. Some filling and sanding, a little primer and three coats of Benjamin Moore Regal Select Pearl Super White sprayed on site and a panel wall pops out.

A little Philip Jeffries Patterned grass cloth hung above the 9’ high panel molding and this room is ready to furnish.

And here it is. The round mirror and bar cart with their very own room. Bar cart just to the bottom of the rail, check. Round mirror symmetrical to each side but asymmetrical to the panel rails and stiles, check. Look for this room in a magazine in the near future. Fun Project.

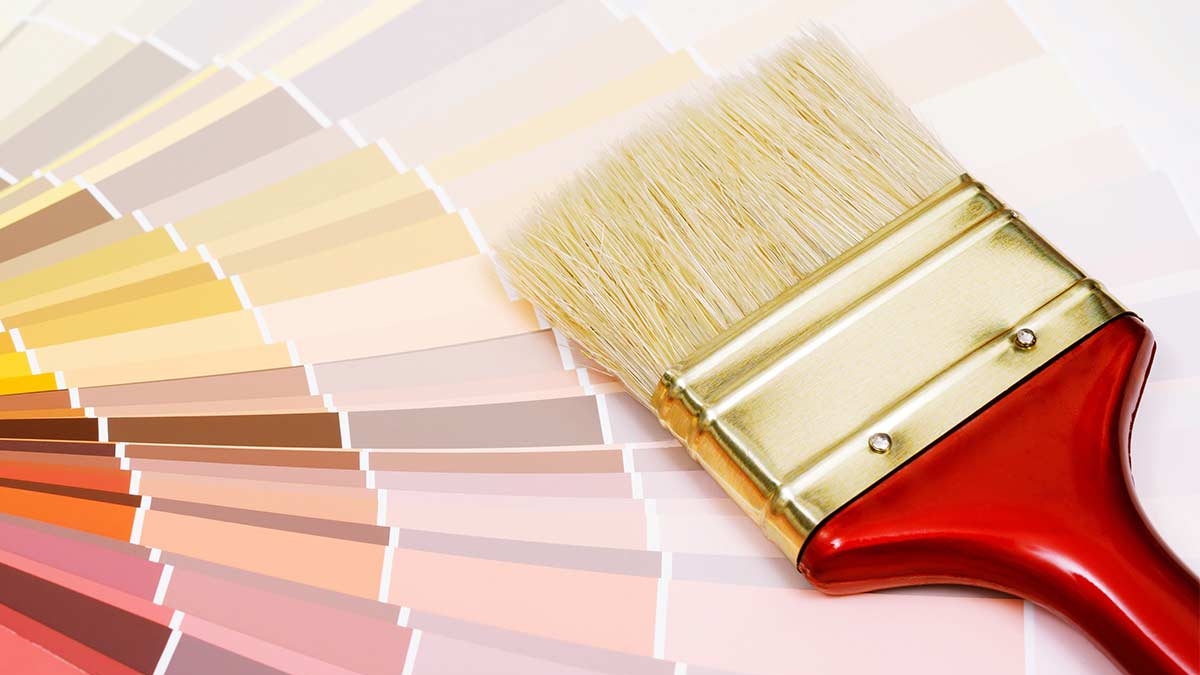
Standing at the counter at Regal Paints in Silver Spring yesterday morning waiting for my order to be filled, I heard a do-it-yourself-er asking the manager what brush to buy for his project. This was a hard core DIY’er since it was 6:30 am so I chimed in and started a conversation.
First question, What are you painting? He replies, “I’m painting a nursery and a guest bedroom today.” Ambitious I thought, but at least he was starting early. Second question, have you painted before? His reply: “yes, but I never know what brush to buy. I hate to spend $25.00 just for a brush but I fell like the cheaper ones are not as good.” I would agree. Brush technology has evolved with paint technology. In fact, the good brushes we used to use are horrible for the new paint technology.
I led him over and showed him the only brush he will ever need to buy. The Corona Excalibur 3” angled. Equally excellent for Gen x Acrylics, urethanes and long oils. Interchangeable with a cleaning in the proper solvent. He replied, “ I like to use a smaller brush, why the 3”? I replied, “because it will hold enough paint to cut really straight lines, wont drip, and will be just the right size for painting doors and trim.

I gave him a quick primer on only dipping the brush 1/3 into the paint. Tapping the side of the can once instead of wiping the rim. Using the side of the bristles to cut and not the flat of the bristles. How to clean when finished, and to save the cardboard sleeve to store the brush to protect the bristles and keep them straight.
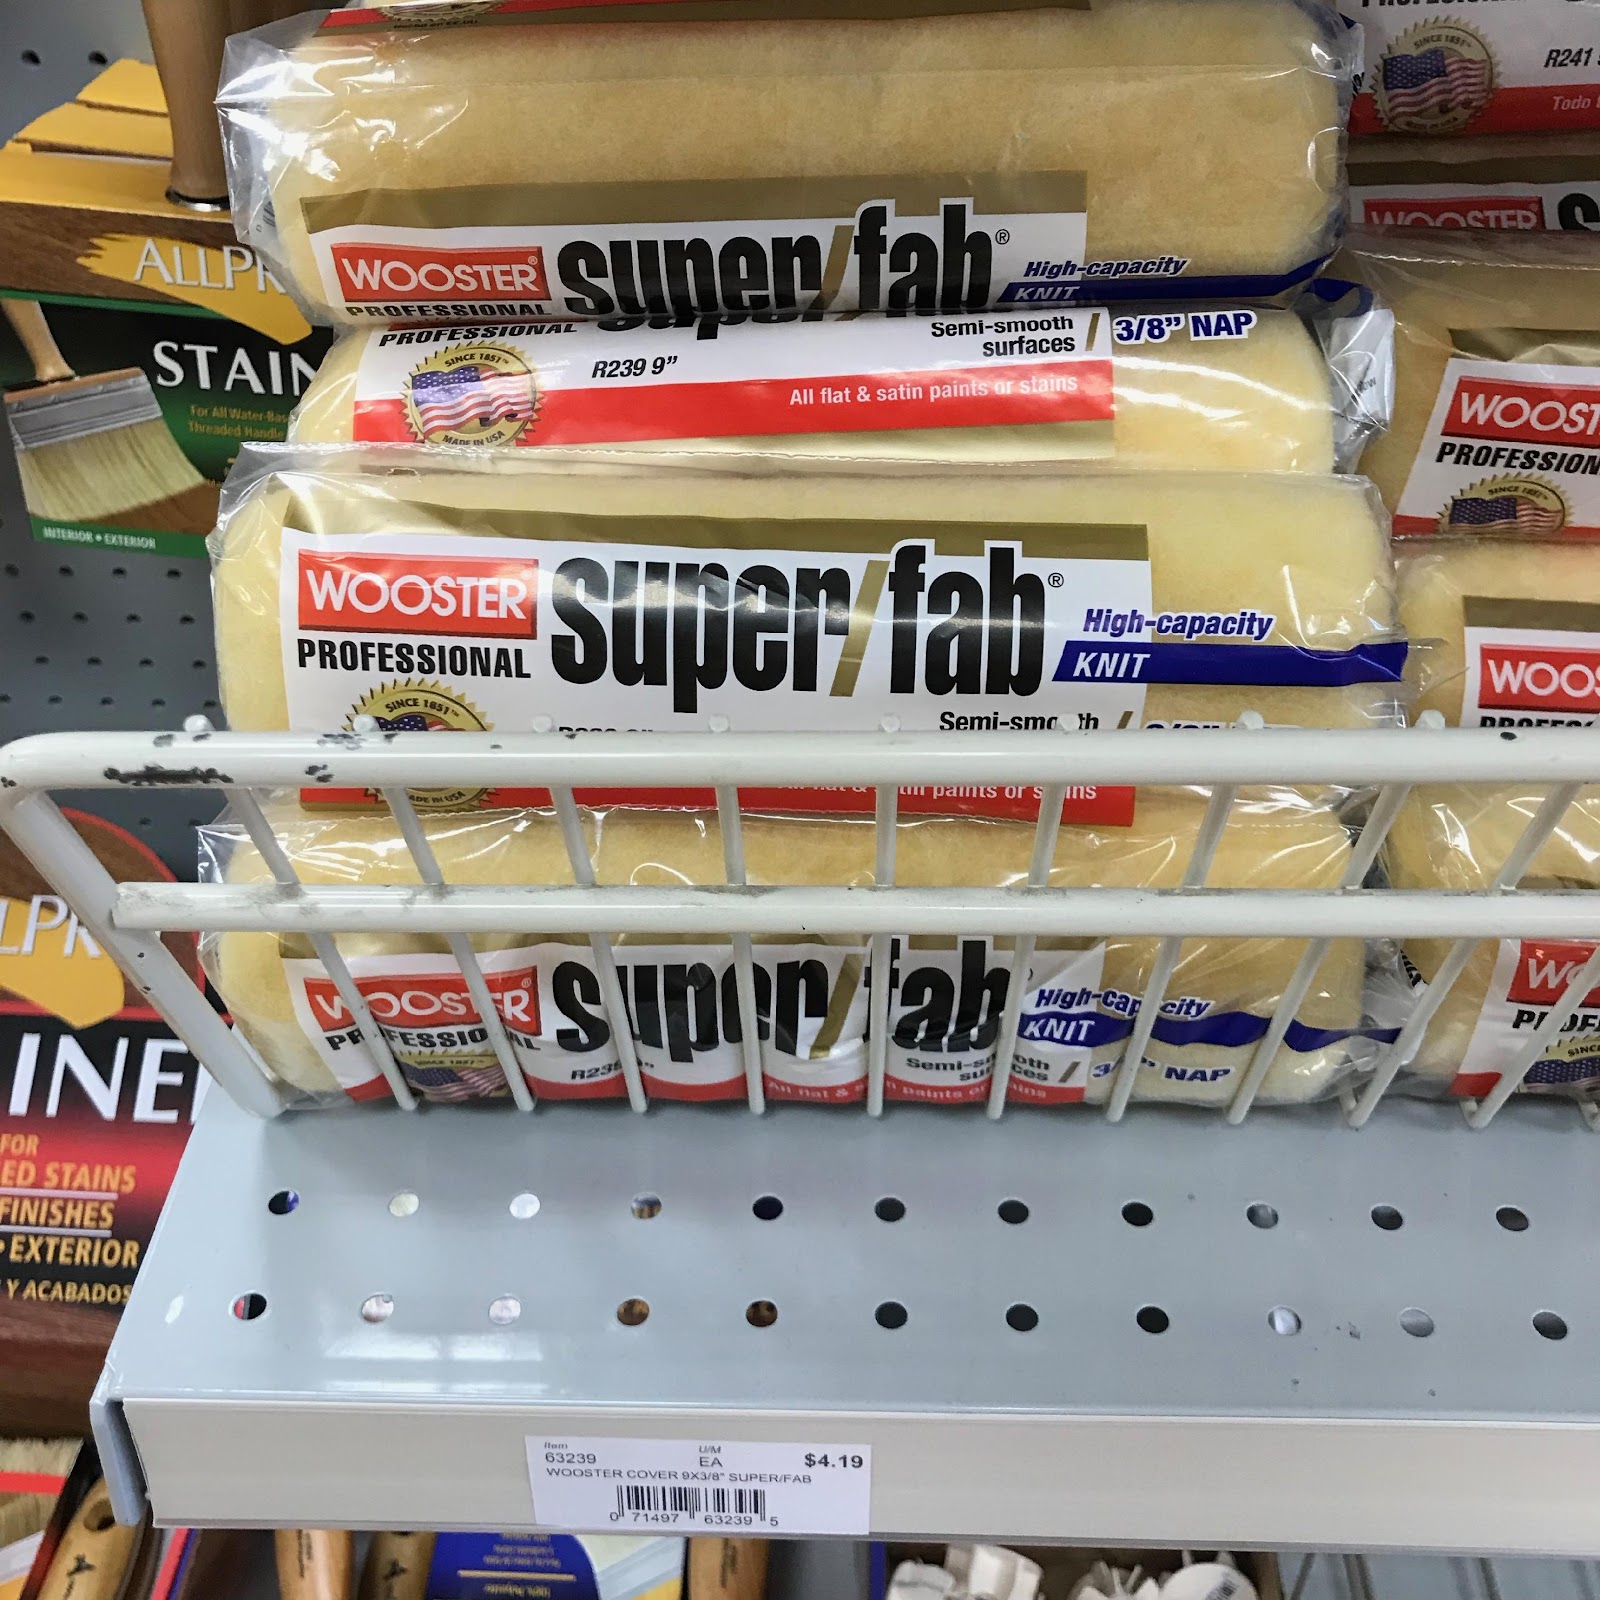
He then asked about special roller covers for the new paint technologies. That’s when we put together this kit of everything he needed to paint a room with the best tools and outcomes. Wooster Superfab roller covers, 3/8” for wall paint, ½” for ceiling flat. A Wooster 9“ roller handle with bearings to roll more evenly with less pressure. A Wooster Shurfab 2-4’ extension pole with quick connect to save your back and make your rolling more efficient and paint application more even. A one gallon size roller tray to hold ½ gallon of paint and give you lots of room to load the roller and roll off excess paint without refilling the tray every 5 minutes. And lastly, one gallon size disposable tray liners to make keeping your paint clean easier and make final cleanup as easy as disposing the tray liner. Get 10 liners so you can switch out easily if you take a break and for lunch. New paint tends to clump after a hour or so in the tray. Change liners often to keep paint clean. I wonder if he got finished in one day!!?

This original c.1904 Adams Morgan entry was still rocking the original green lacquer wall tile wainscoting in perfect condition. We spent some time getting the replacement front door and original interior door ready for paint and then busted out three coats of Fine Paints of Europe Hollandlac Satin Oil to make them the best looking entry doors in Adams Morgan.
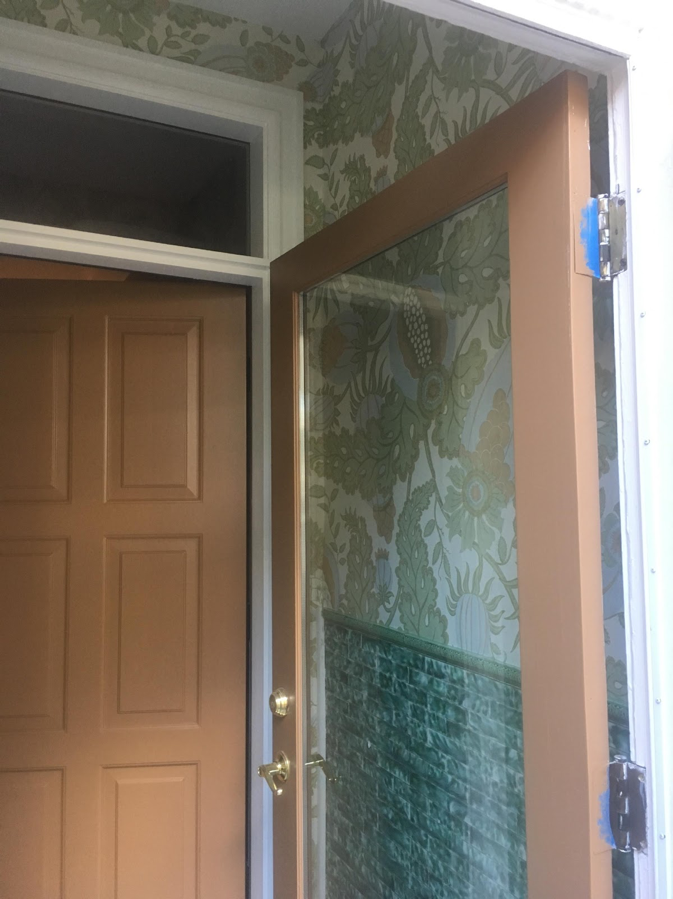
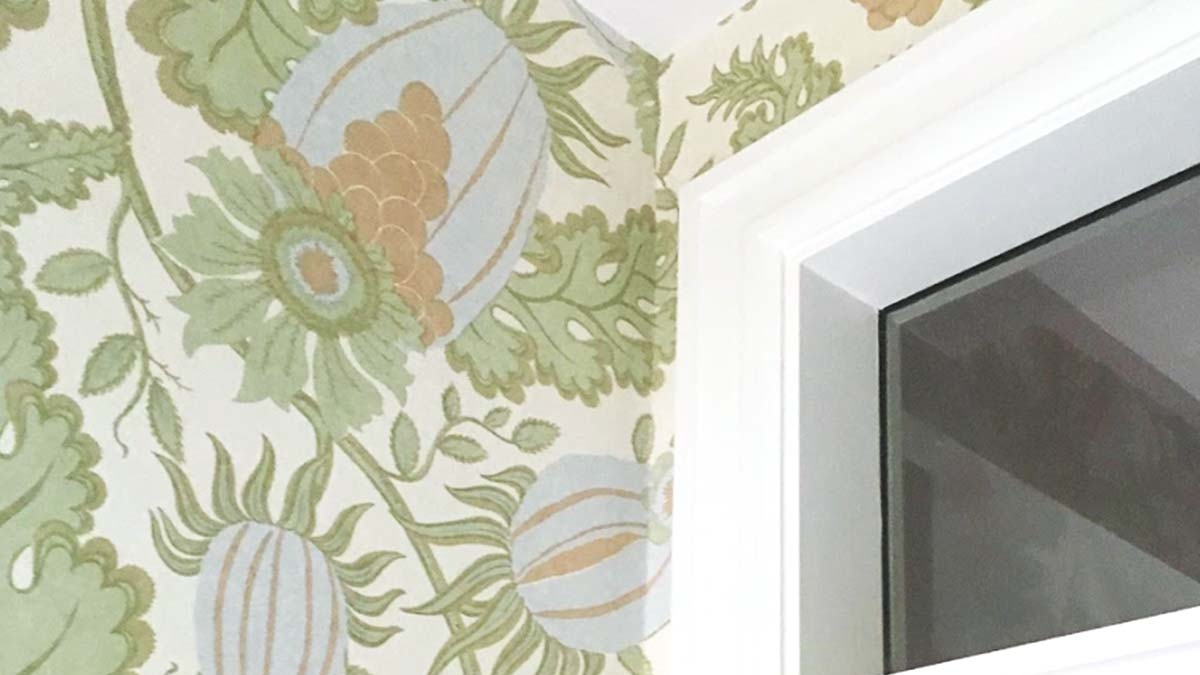
Then it was time for the main attraction. This “Carnival” non woven wall covering from Christopher Farr steals the sideshow. It is such a large pattern that it doesn’t repeat in this entry. It is beautiful to work with and seams invisible. Surface is a paper hand feel but is wipeable. It looks like it has always been there and compliments the tile wainscoting beautifully. It should wear well.
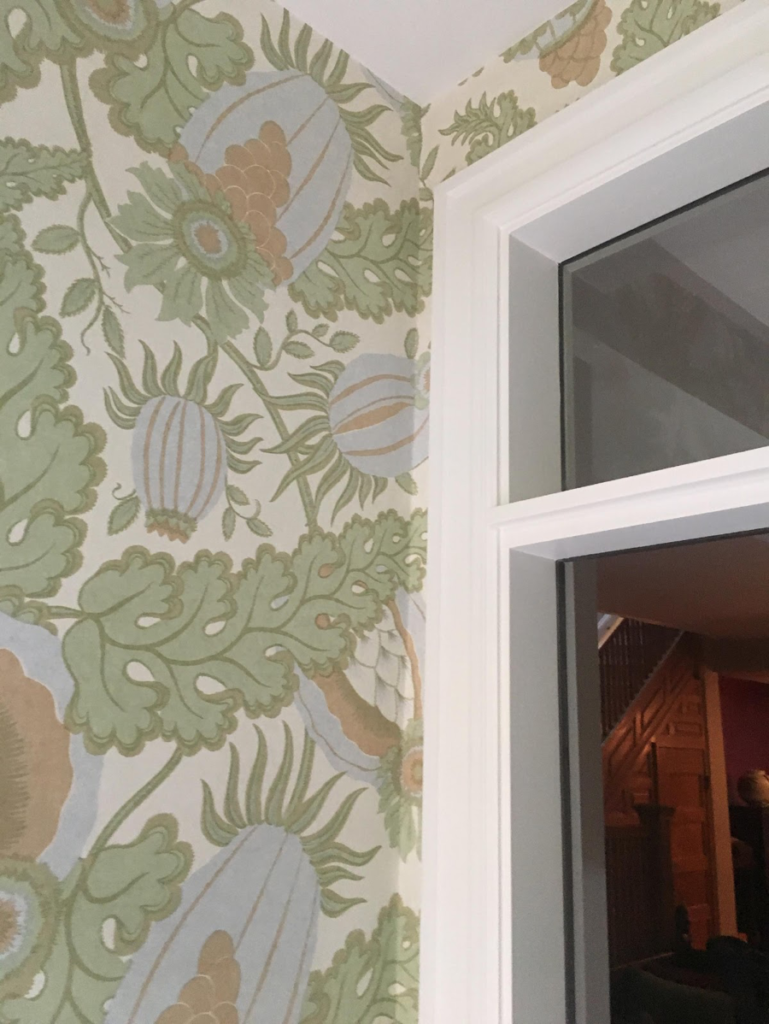
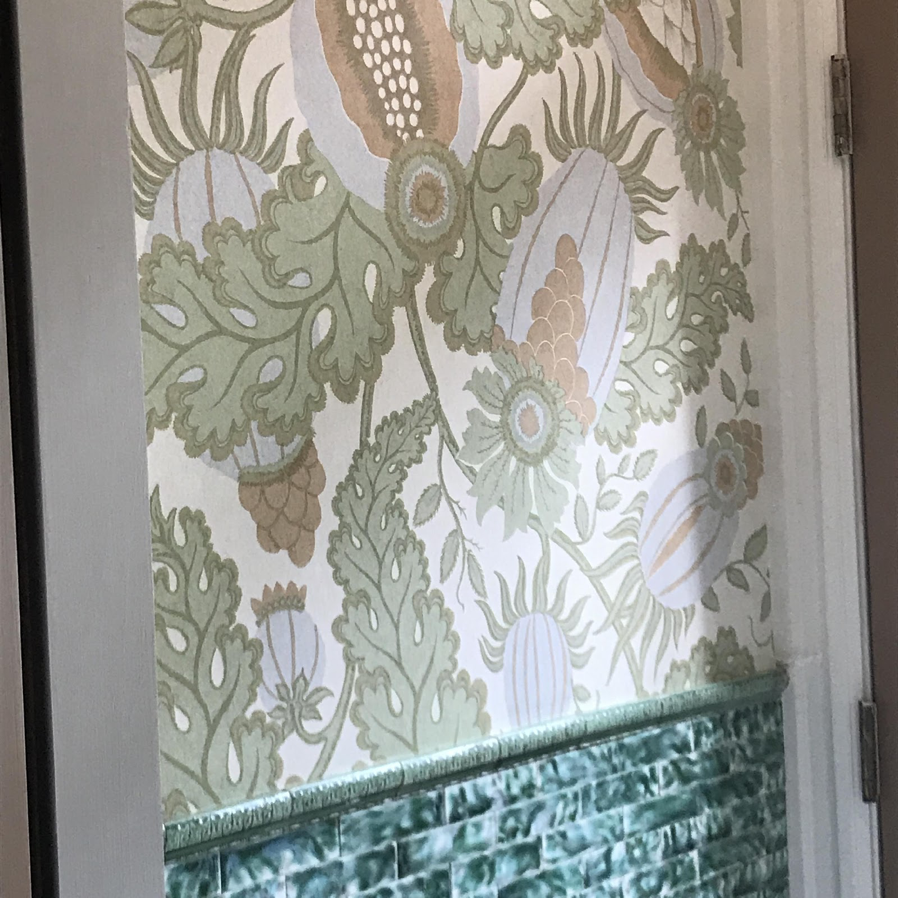
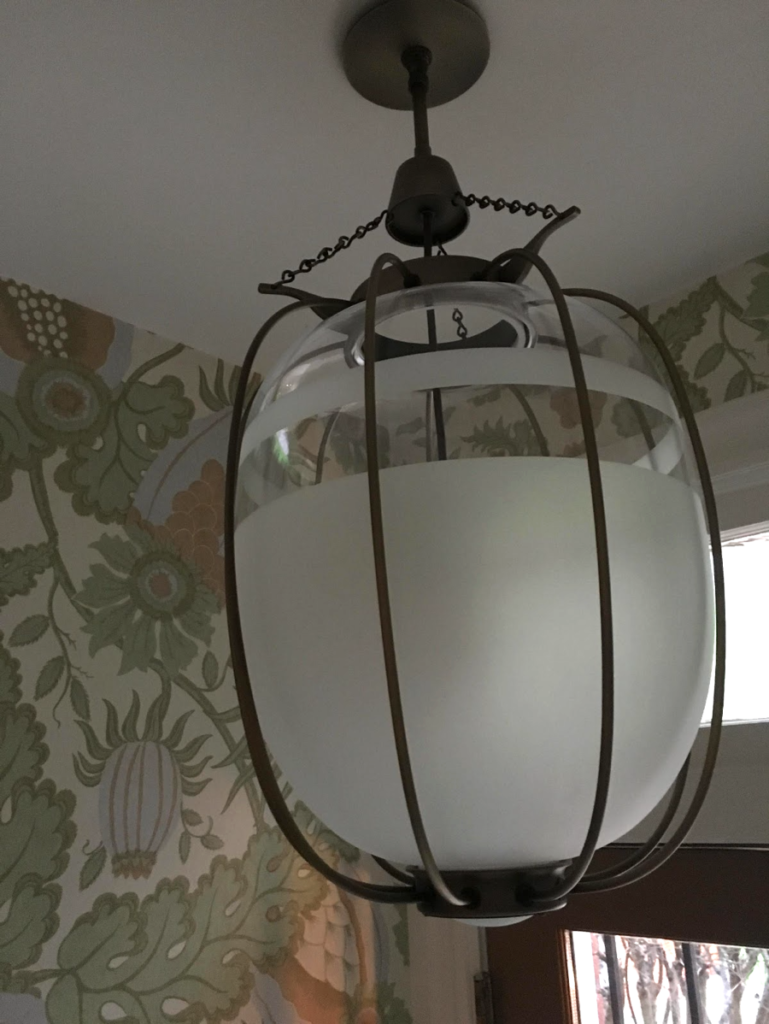
Big wide open patterns in small areas are a common theme developing with some of my designers. Long thought taboo, it really works to make small spaces visually interesting. This custom light fixture specified by Iantha Carley Interiors certainly doesn’t hurt the eyes either.
Christopher Farr “Carnival” is a pleasure to work with. Roman 880 adhesive thinned to shampoo consistency and applied directly to primed walls. This is non-woven so paste the wall with full wet coat of paste. Hang paper and smooth. Wipe with damp sponge to remove adhesive from face. Tape with yellow tape and double cut seam on the wall. This paper seams invisible. Seams can not be felt or seen. BEAUTIFUL product and design!!!!!
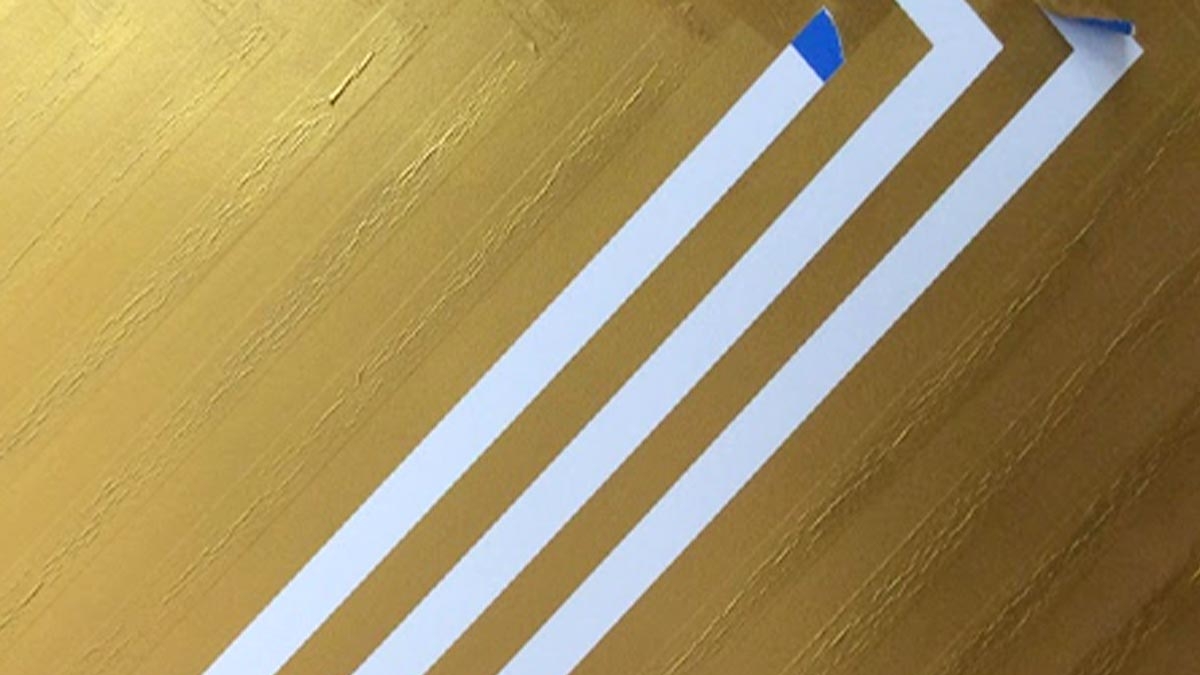
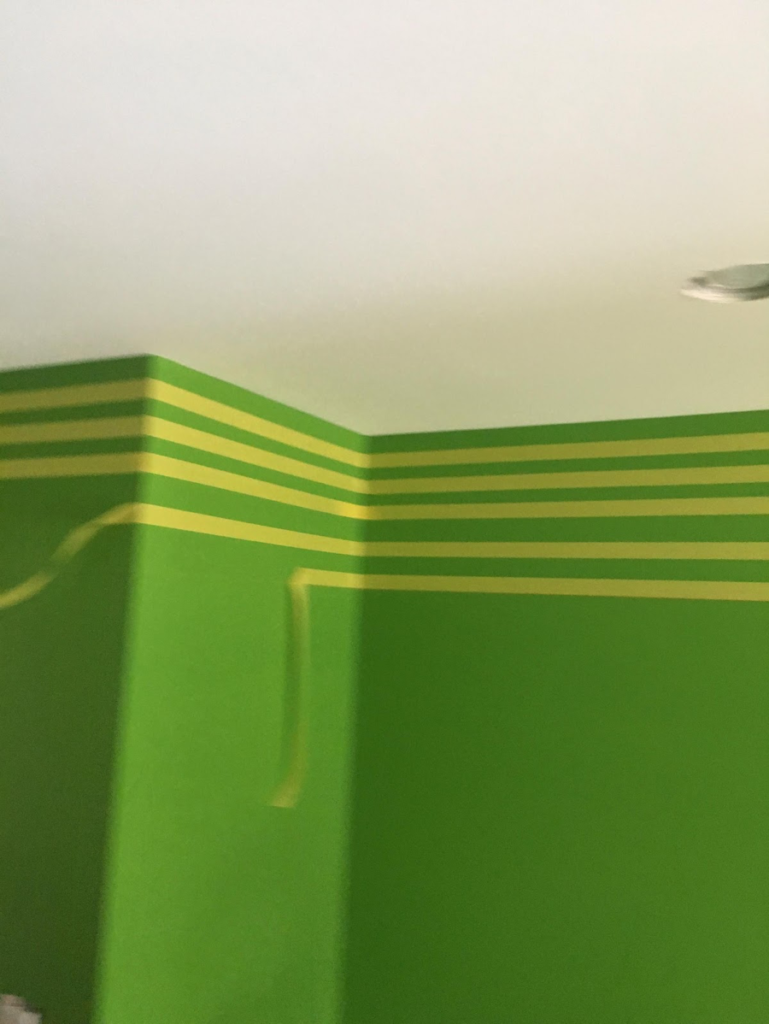
Faux Stripes are hot again. After hours of wall prep and primer/base coat, layout, laser and level work, and rolls and rolls and rolls of green tape the top coat goes on.
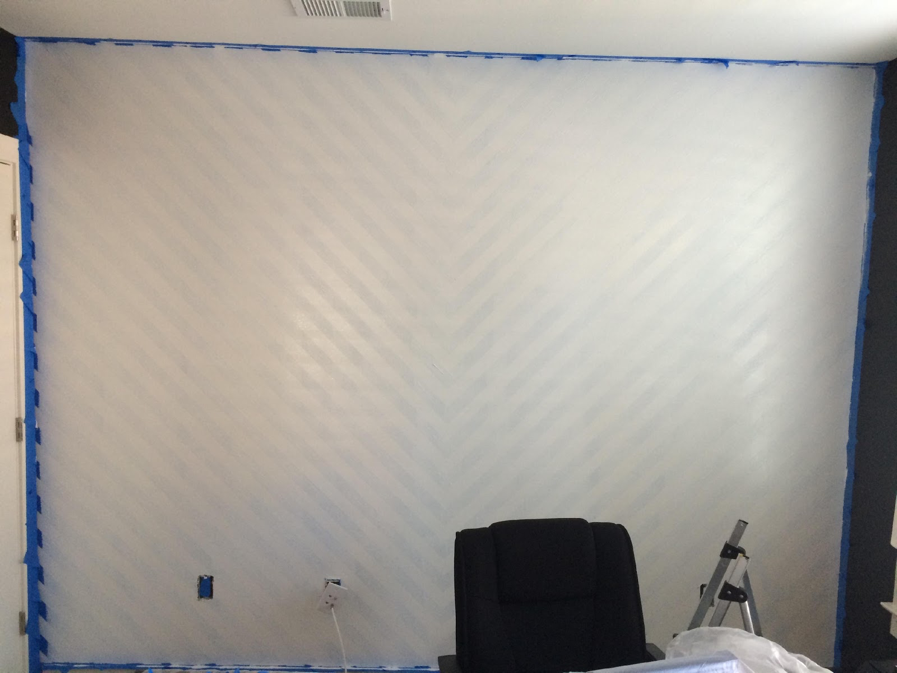
A long nervous lunch hour in Alexandria, VA follows while the top coat dries. It’s show time. The tape is peeled and there are the metallic gold stripes hiding underneath.

It is so much harder to do than on TV.
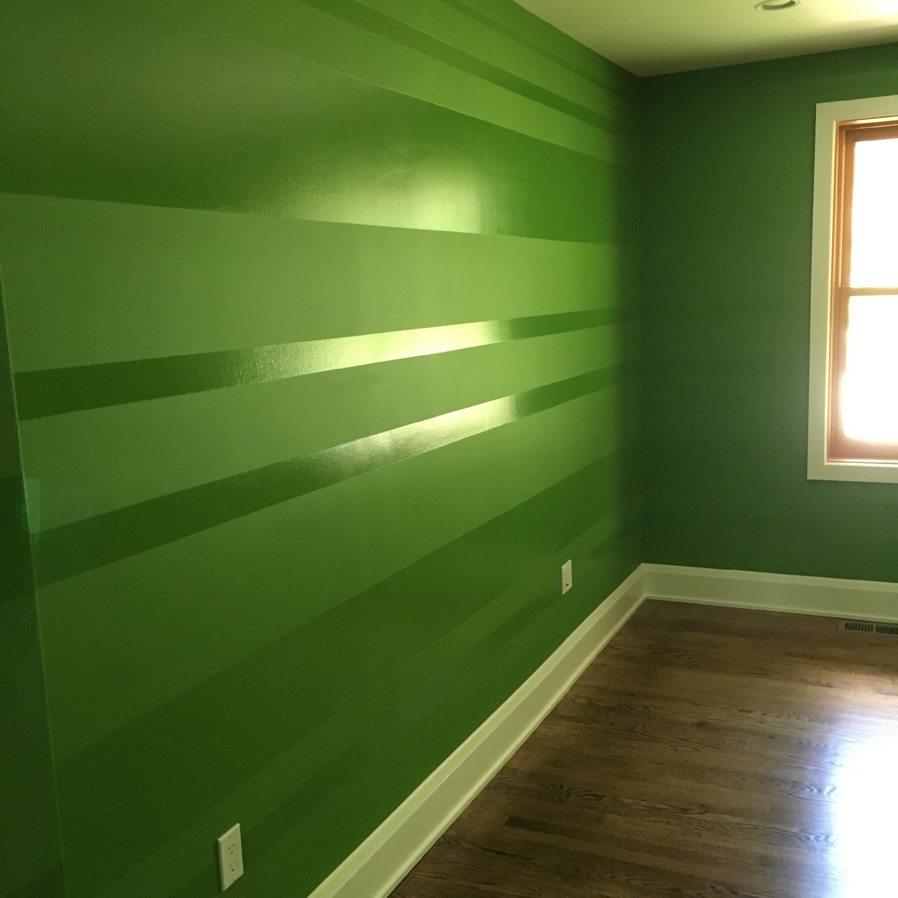
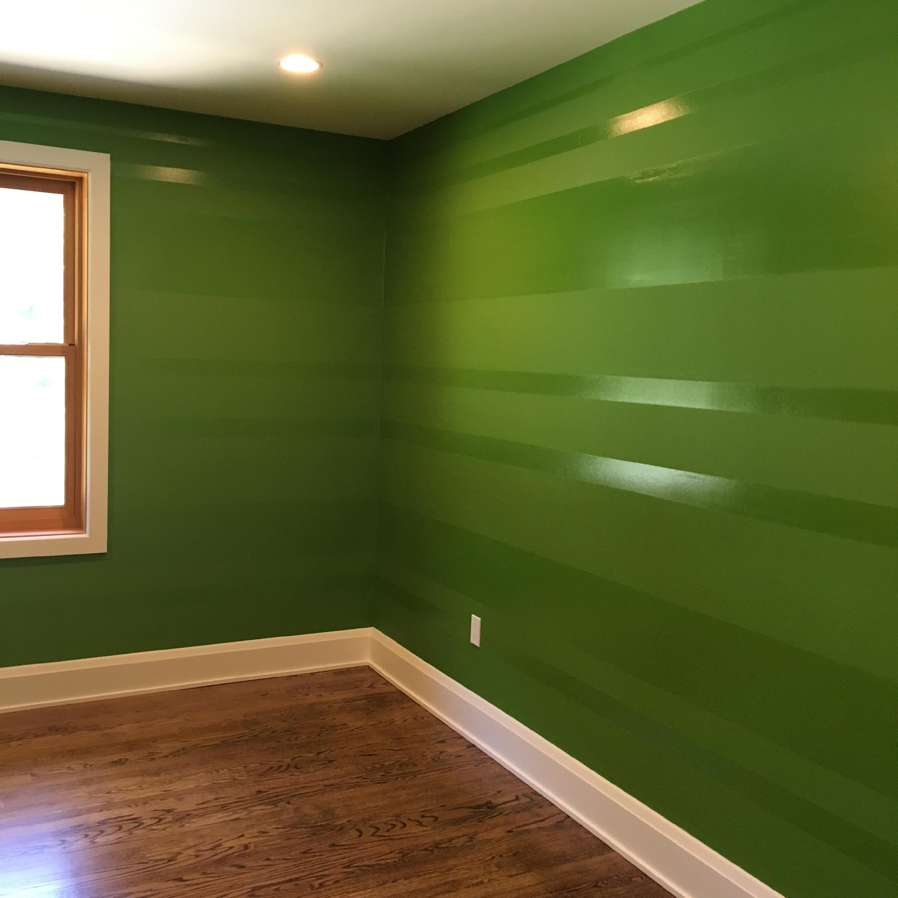
Urethane stripes start the same way with prep, primer and base coat. Then hours of green tape.
Note I said green tape since we started this job with a new yellow tape our vendor told us was so wonderful and wanted us to try and we had a big FAIL! Applied the green tape and two coats of Semigloss urethane letting it dry between coats and scuffing with green scrub pads. An hour of dry time and it’s show time. The client was so excited she was present when the tape was pulled. Luckily we knew we had a winner with these stripes in Georgetown , DC.
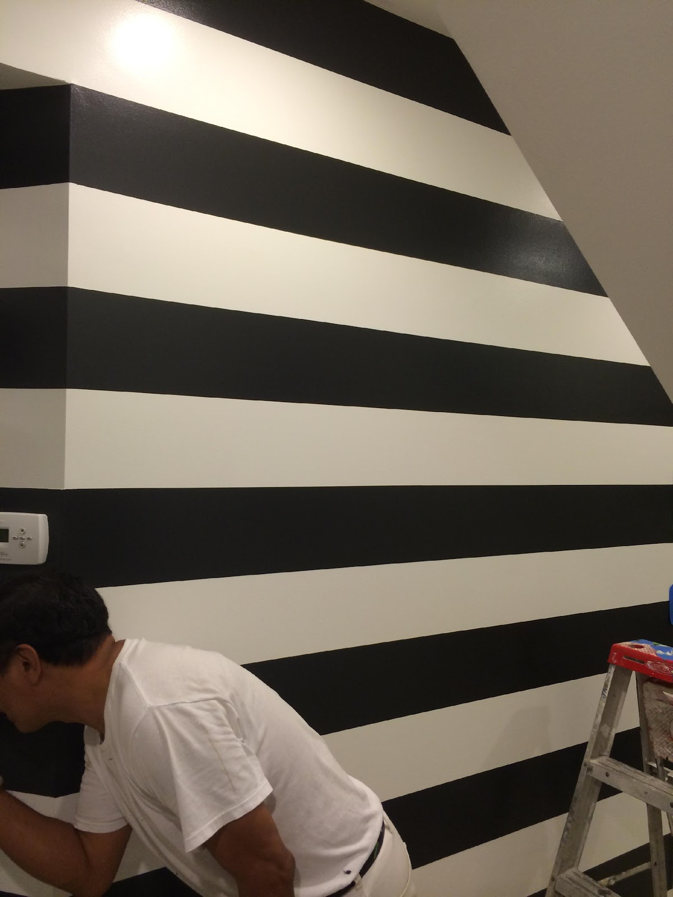
Then there is the classic two or multi-color stripe. Same prep and prime and base coat, darker color. Dry and tape-in stripes. Try to let room features dictate layout so there are no weird transitions. Top coat with lighter color, two coats. Peel tape while paint is still soft. Another home run on these Zebra Stripes in Alexandria, VA.
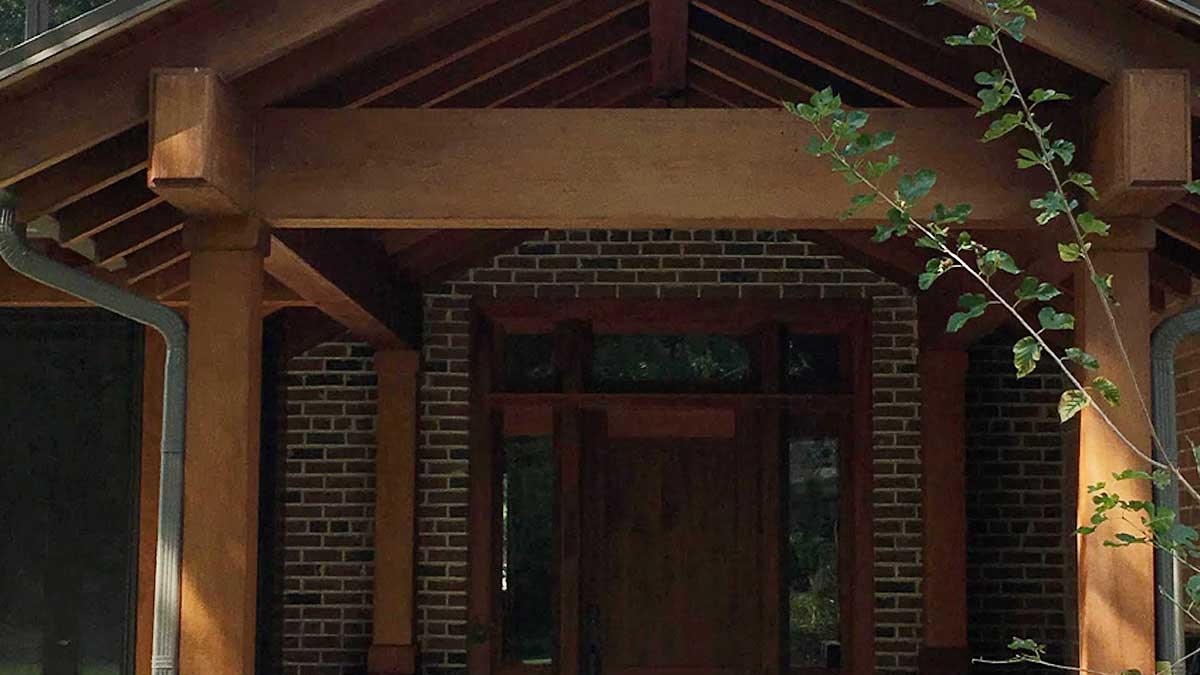
Today we are in Kensington, Maryland, to fix the finish on a clear cedar front entry. The contractor who did the renovation used a home center clear finish with a well known name. It was put on in June so lasted a little less than four months. Unfortunately when the finish fails, mildew grows quickly.

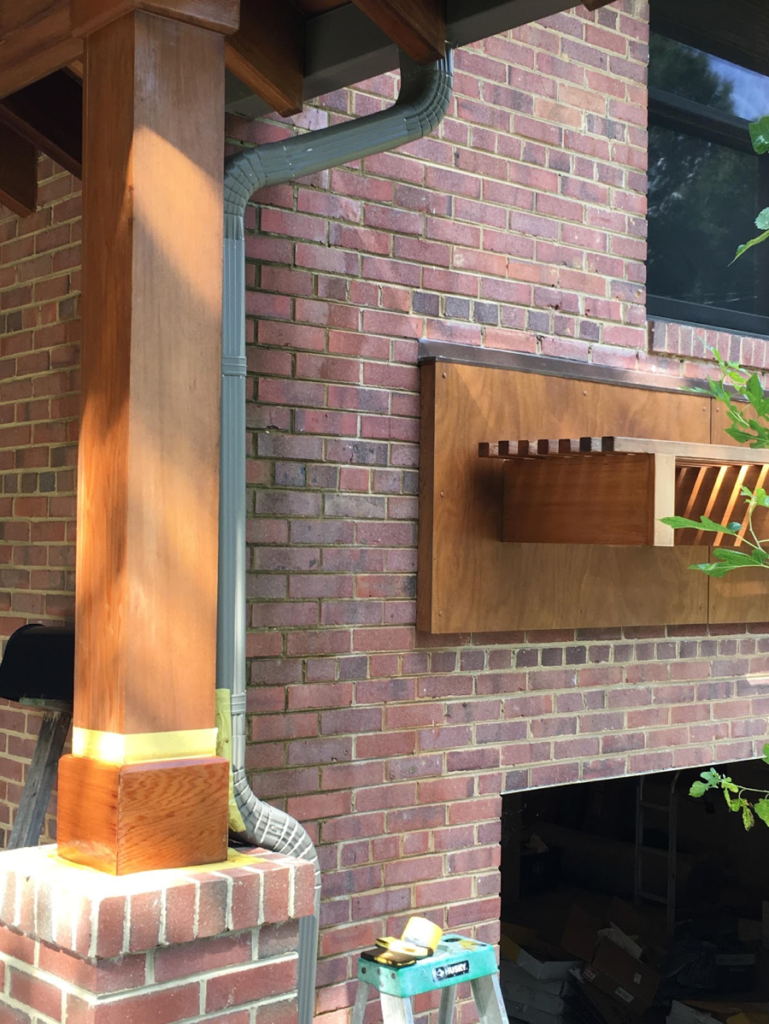
After Cleaning with a solution of TSP and Bleach mixed with water, scrubbing with a coarse brush and letting dry, it is time to put a real finish on.
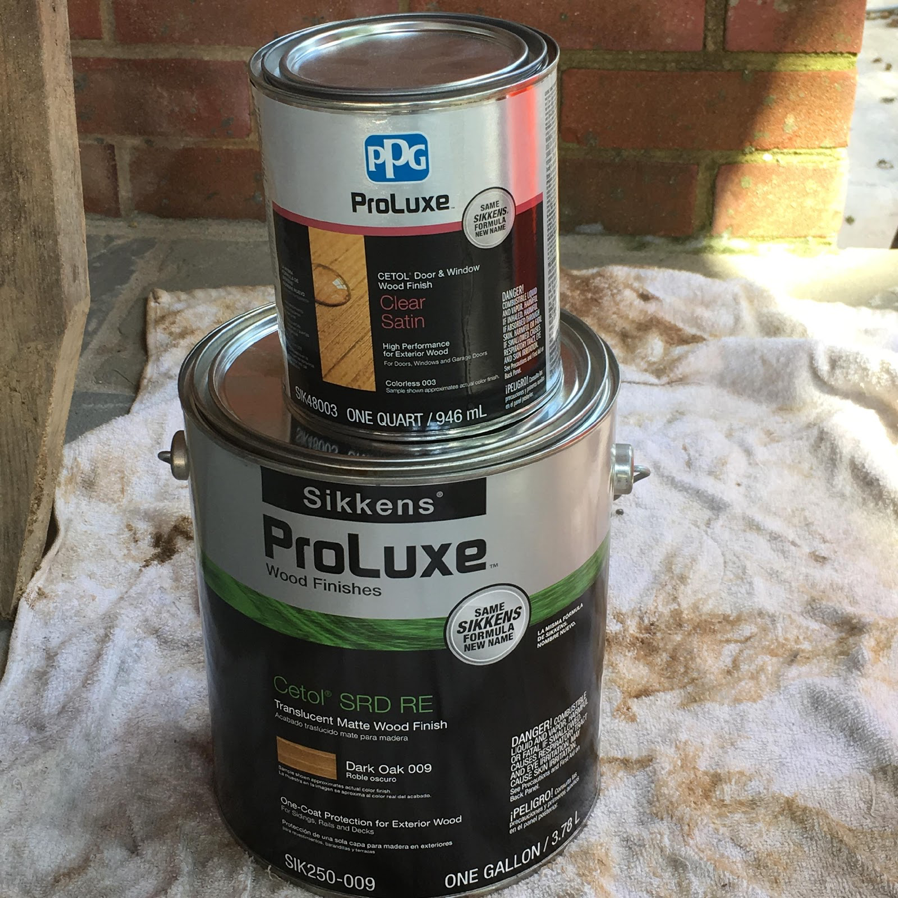
Sikkens SRD Dark Oak matches the factory Parkflex™ finish perfectly. One coat of stain applied with a green scrubby scrubbing into the surface, wait 5 minutes and wipe with the grain with a clean sponge. Allow to dry 24 hours.
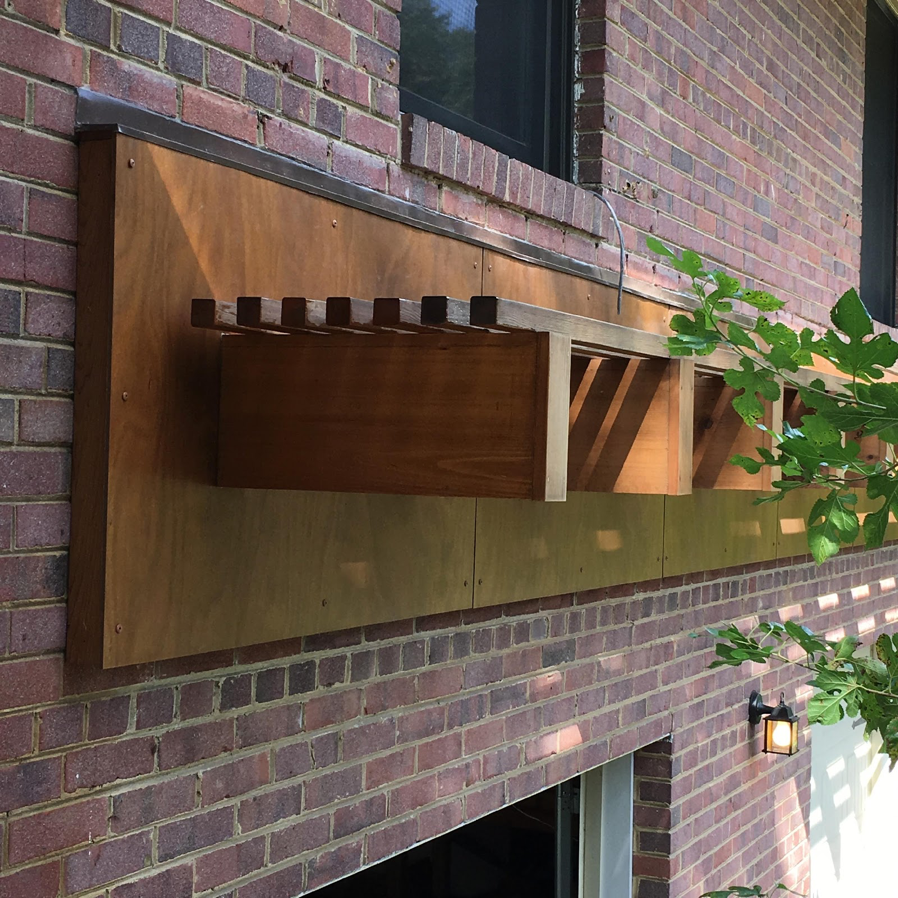
After 24 hours, scuff with dry green pad and wipe surface. Do not use steel wool. Apply first coat of Sikkens SRD Satin Clear with a chinex brush. Brush into surface with grain. Apply a full coat but back brush to remove excess and prevent dripping. Tape adjacent surfaces to prevent brush marks against the grain. This finish should last a while, but will never peel or flake. Maintenance is simply wash with detergent and apply additional coat of Sikkens SRD Satin as need for UV protection.
We have finally found a product combination that works! Magnetic primer and paint has been around for a while, but never really caught on, mainly because it didn’t work. You had to use industrial strength magnets and even they didn’t hold more than a single post-it.
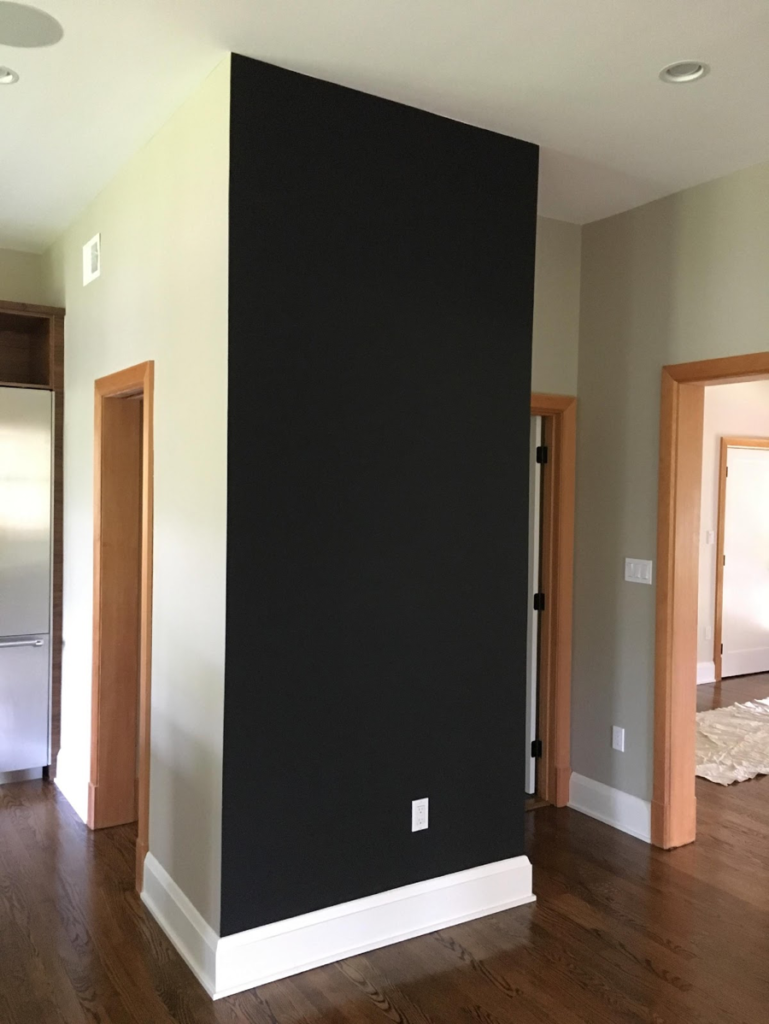
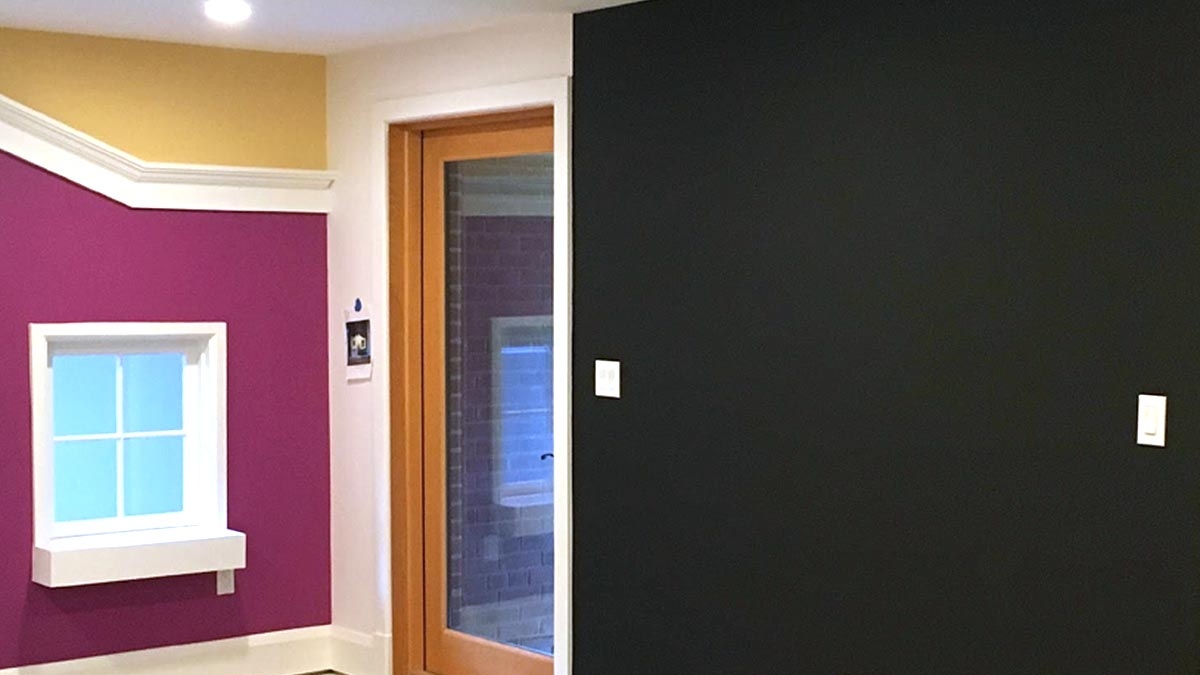
Not any more. We have found a combination for two magnetic primers and a non toxic top coat which makes a truly magnet holding surface which is also a durable chalk board.
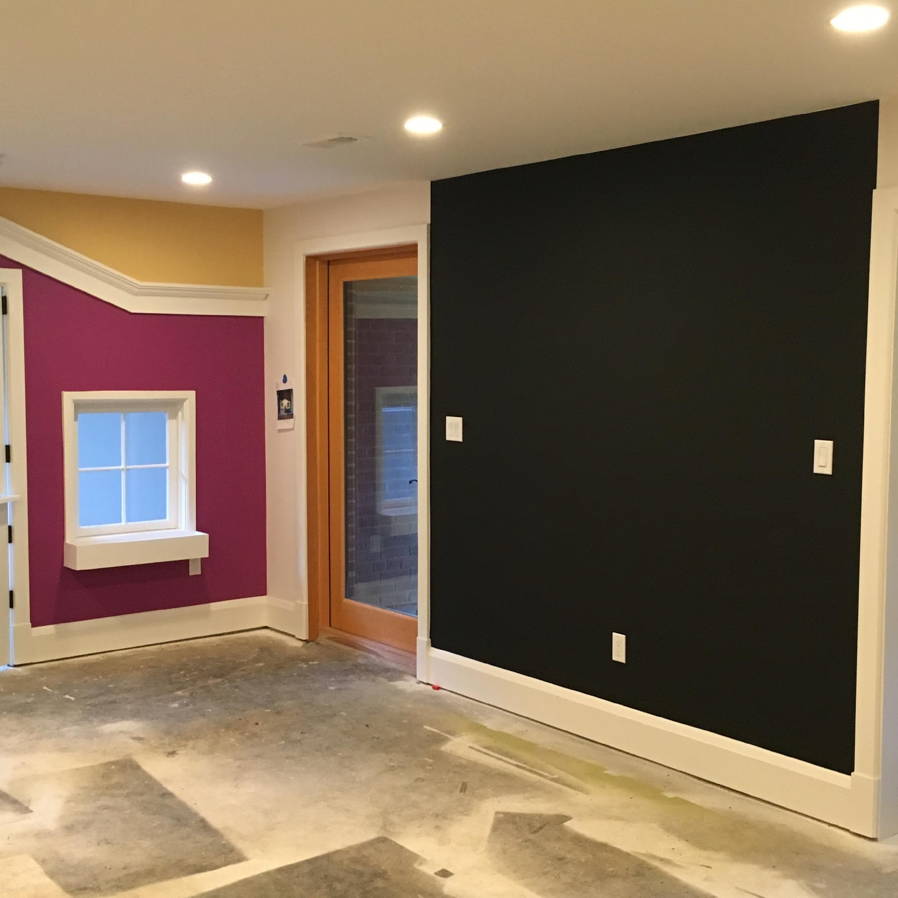
Perfect for menu and store list walls, home offices, and children’s playrooms. These lucky kids in McLean, VA got a big blackboard wall which is also magnet holding downstairs next to their custom playhouse.
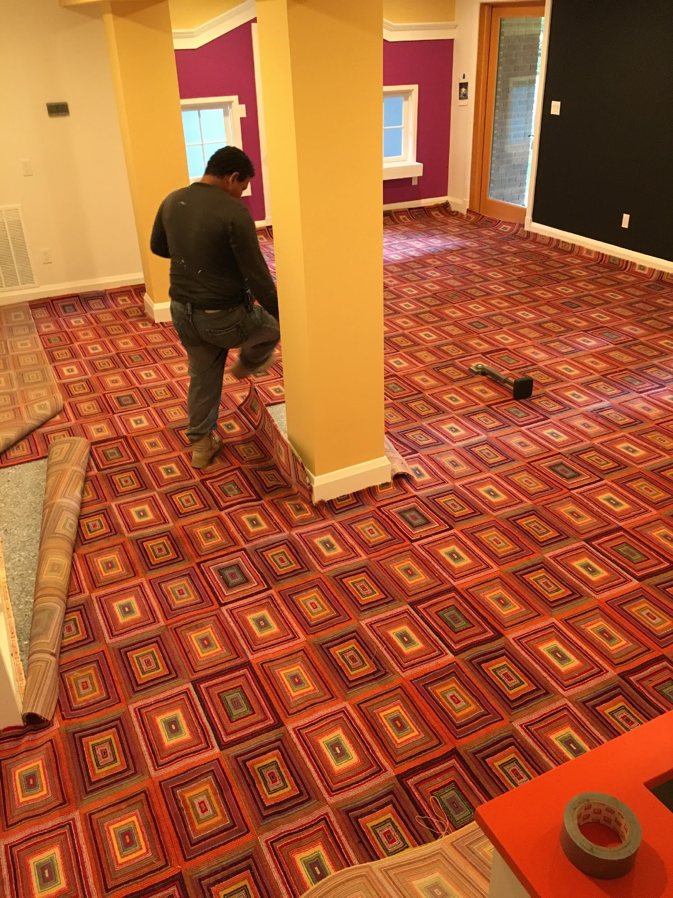
We installed the carpet today for the finished product. Lucky Kids!!